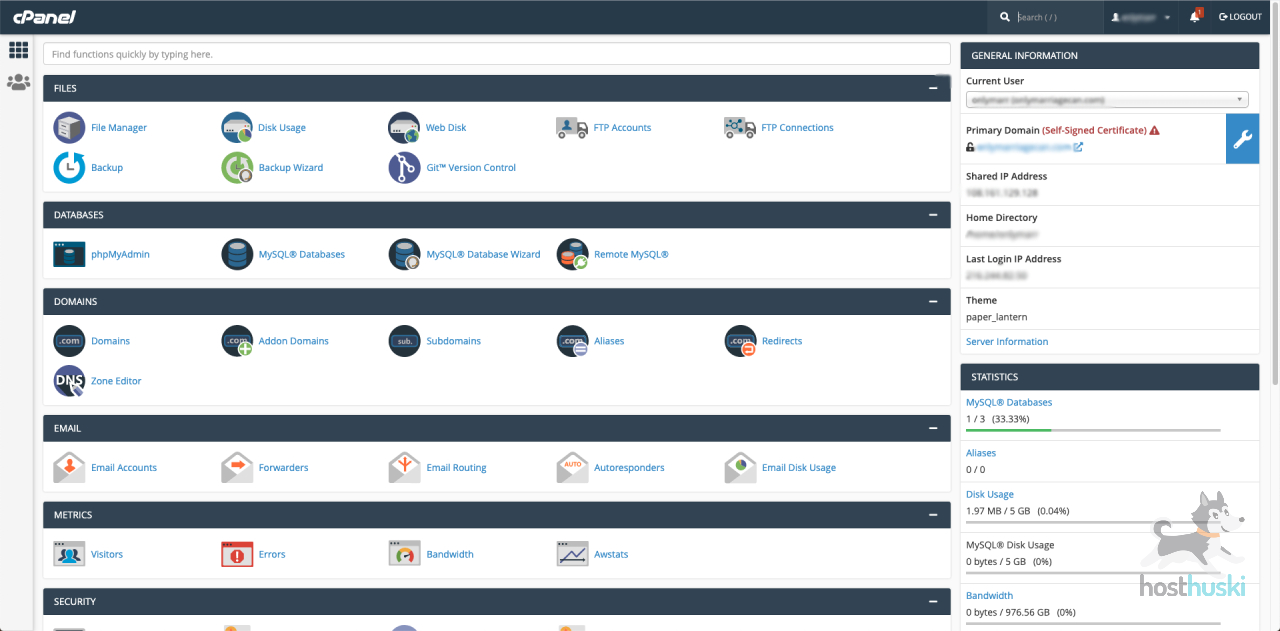
1. Open your Staging cPanel (example: clients.yourcompany.com/cpanel) and login.
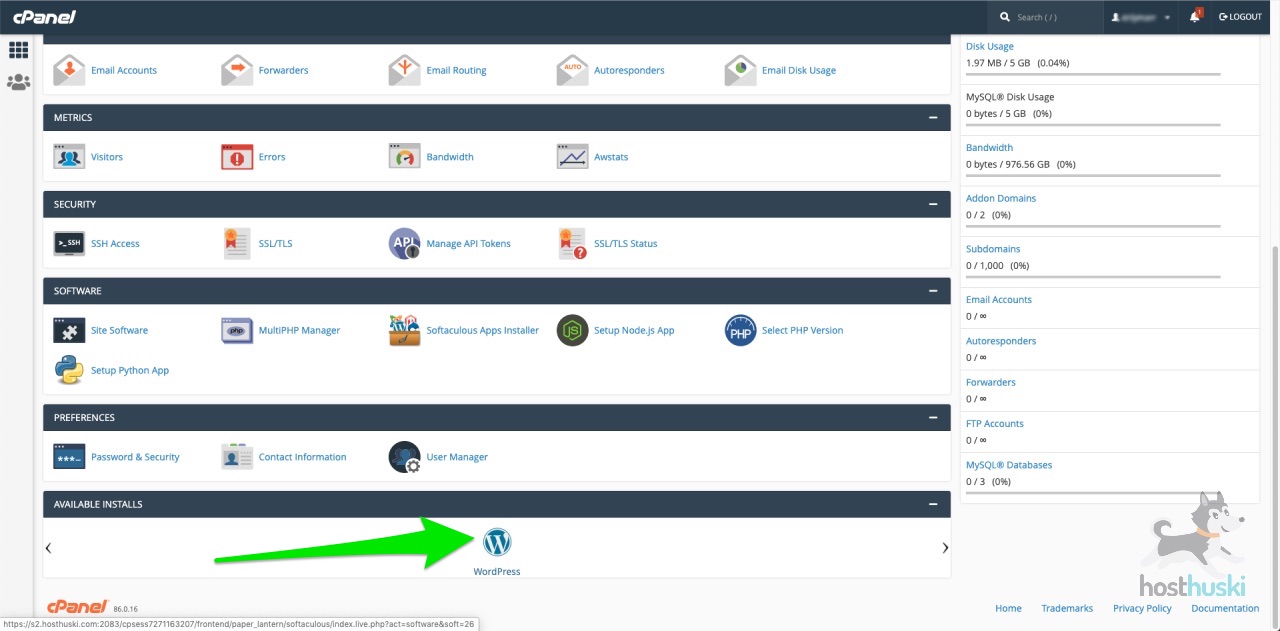
2. Scroll all the way to the bottom of the screen and click the blue WordPress icon. See the green arrow I drew?
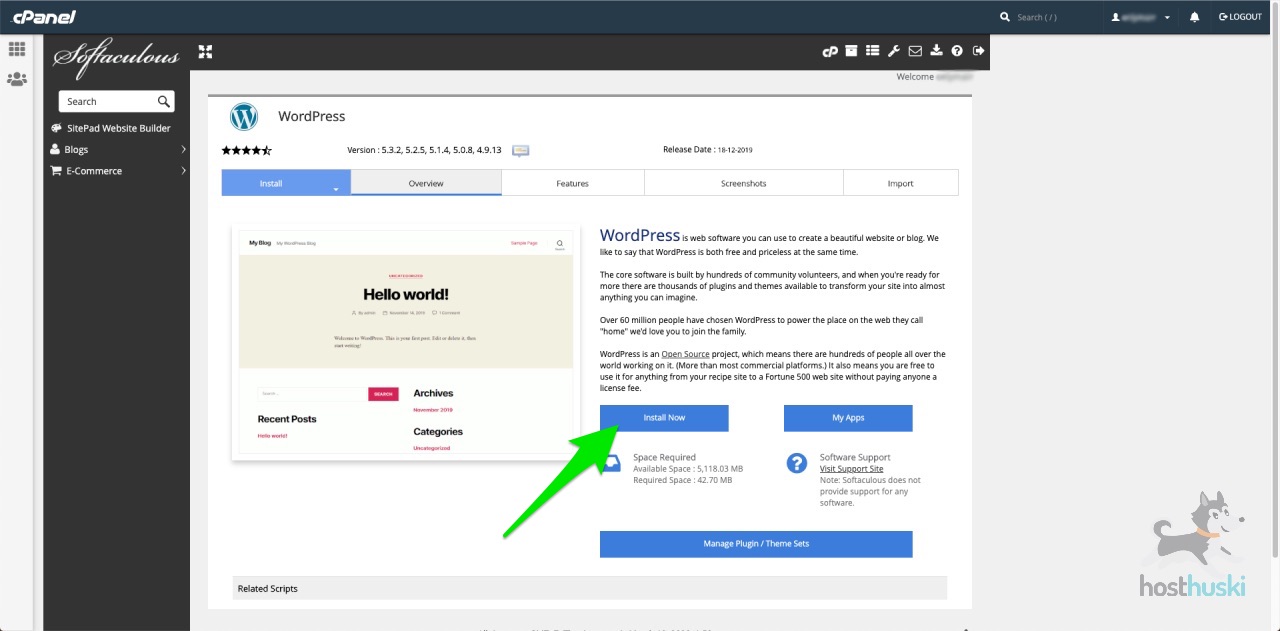
3. Then, you’ll see this screen. Click “Install Now”
4a. Since this is used for staging, you don’t need to pick any other domain. But for the new folder the install will go into, you’ll want a short way to remember what project this is for. Example: For a client that makes lightbulbs, you could do clients.yourcompany.com/lightbulbs for the install by entering “lightbulbs” without the quotes into the Directory field.
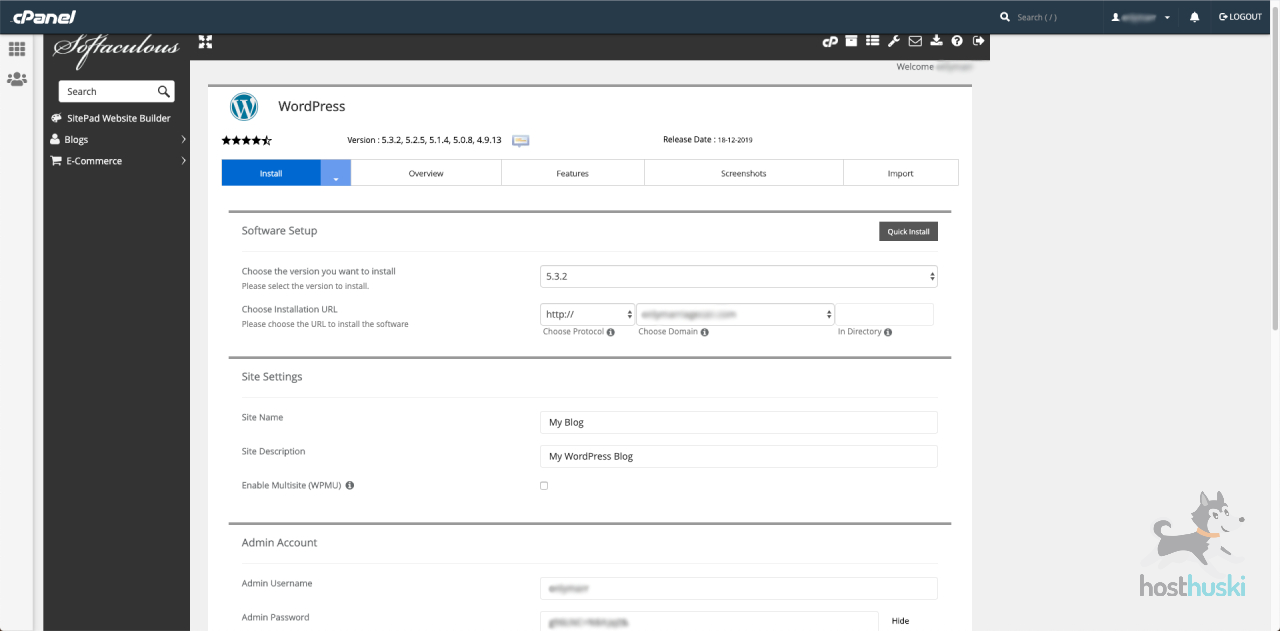
4b. Fill out all the options. Remember not to use “admin” as your username — It’s not safe!
After making your username, you’ll notice that your cPanel has generated a safe password for you. Copy and paste it somewhere safe. You can always change it later.
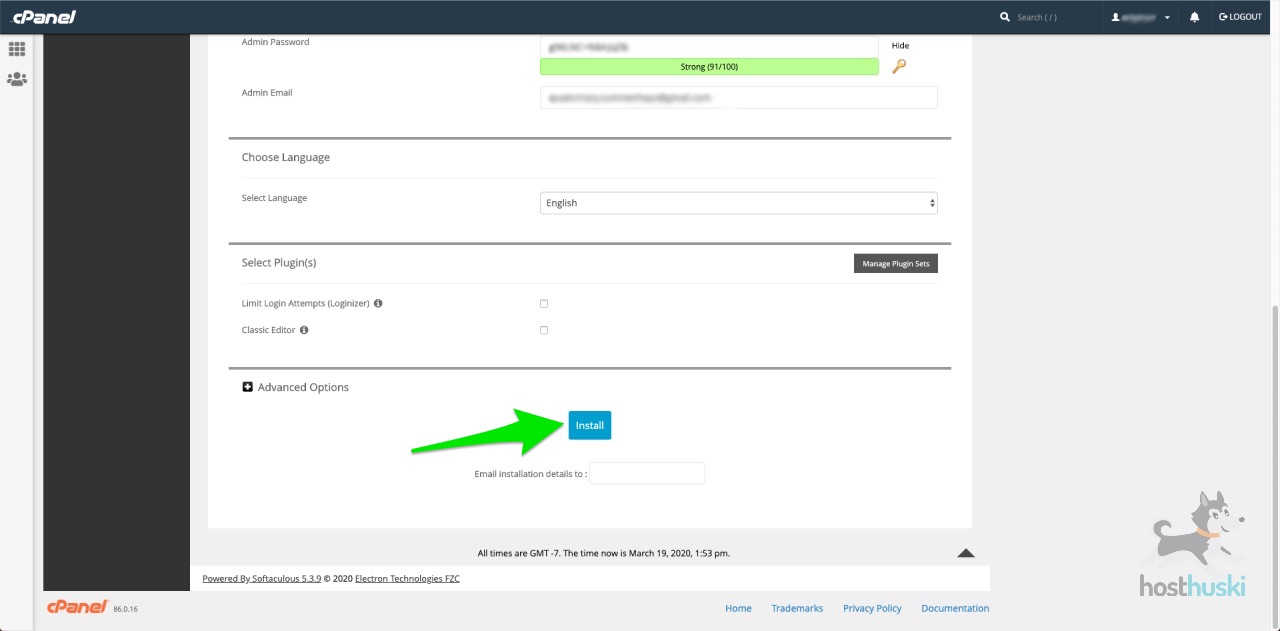
5. When you are finished with all your settings (title, tagline, etc) click the “Install” button.
6. If everything you entered works out, you’ll get this message to tell you the WordPress install was successful and is now live for you to access.
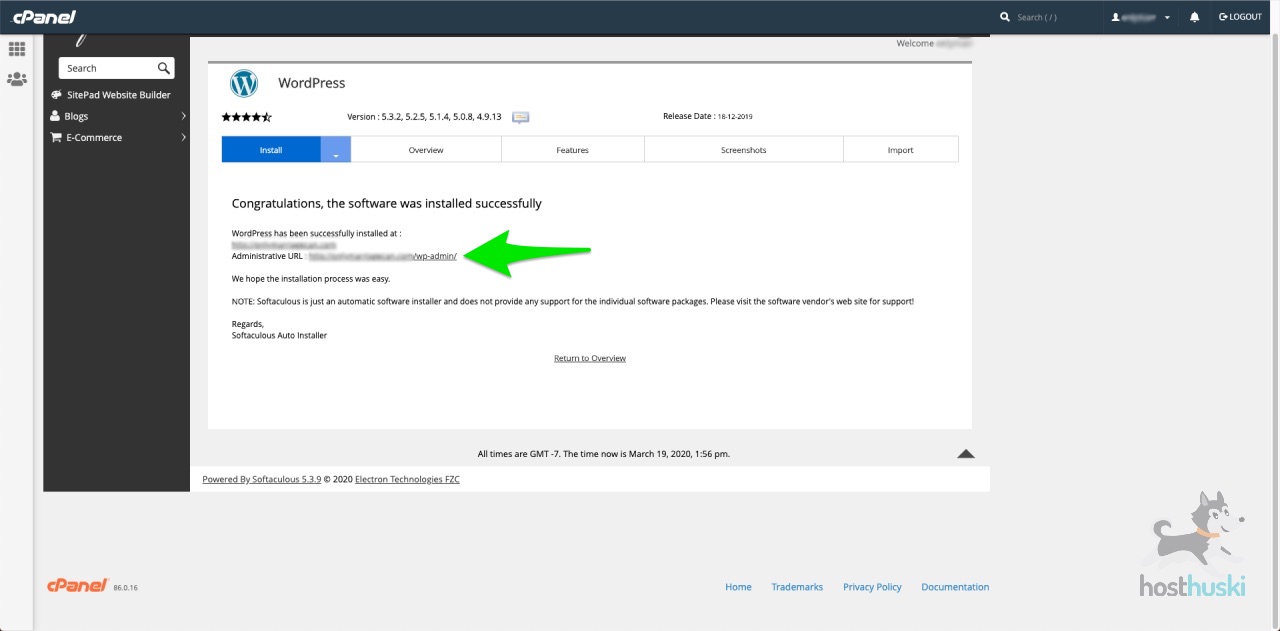
7a. You can click the “Administrative URL” link to be logged into your site immediately without having to enter your user and password you just created.
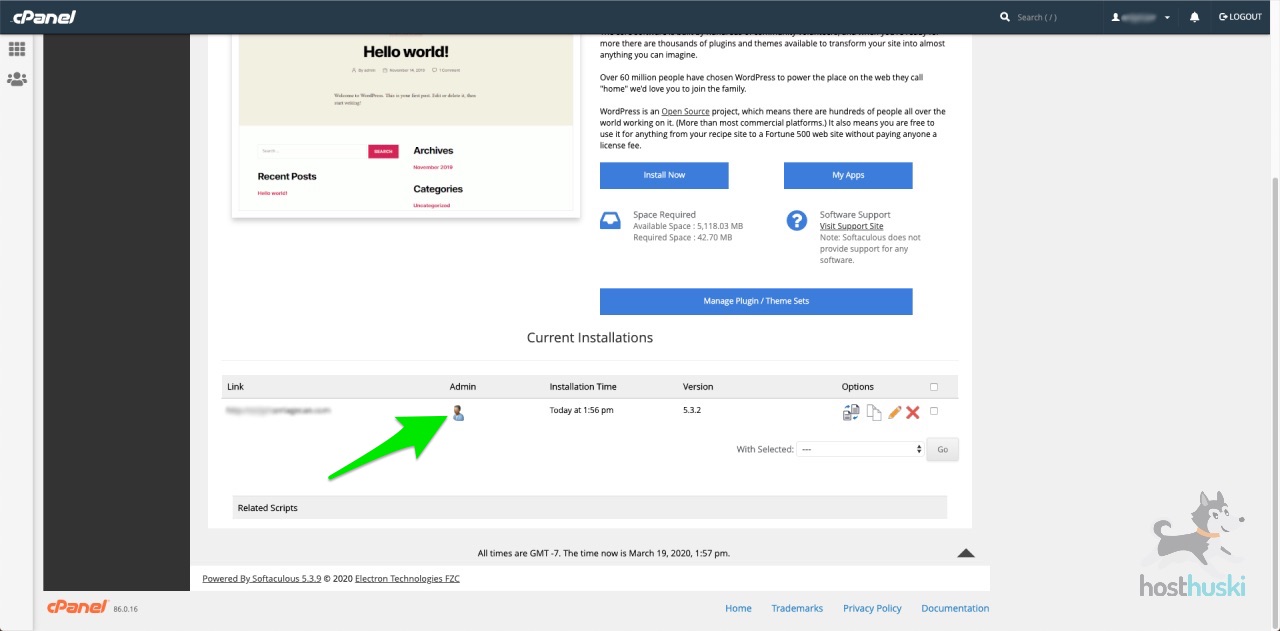
7b. Alternatively, you can go back to the WordPress installation overview screen and you’ll see your site listed and a person icon. If you click the person icon, it will also allow you to login effortlessly into your WP Admin Dashboard.
That’s it, dawg! Happy building!