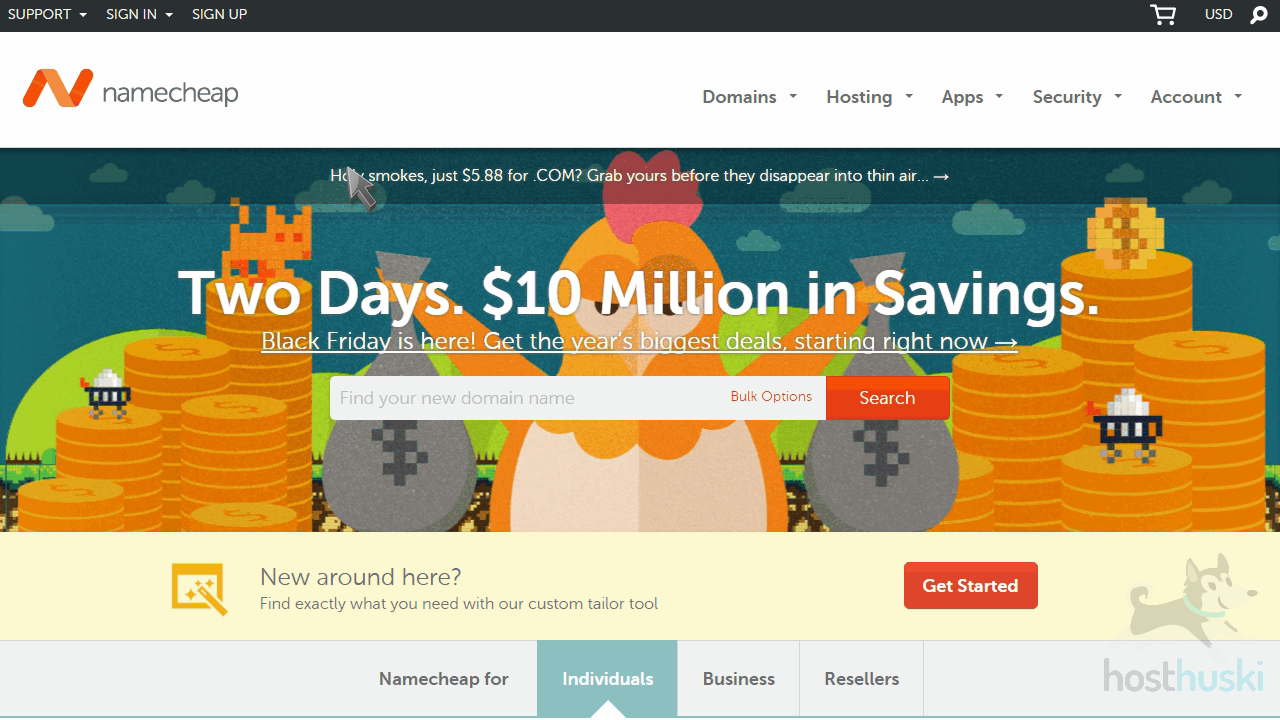
This demo assumes you have a domain name registered through NameCheap, and starts from their home page.
Now let’s learn how to update our domain name’s Nameserver settings
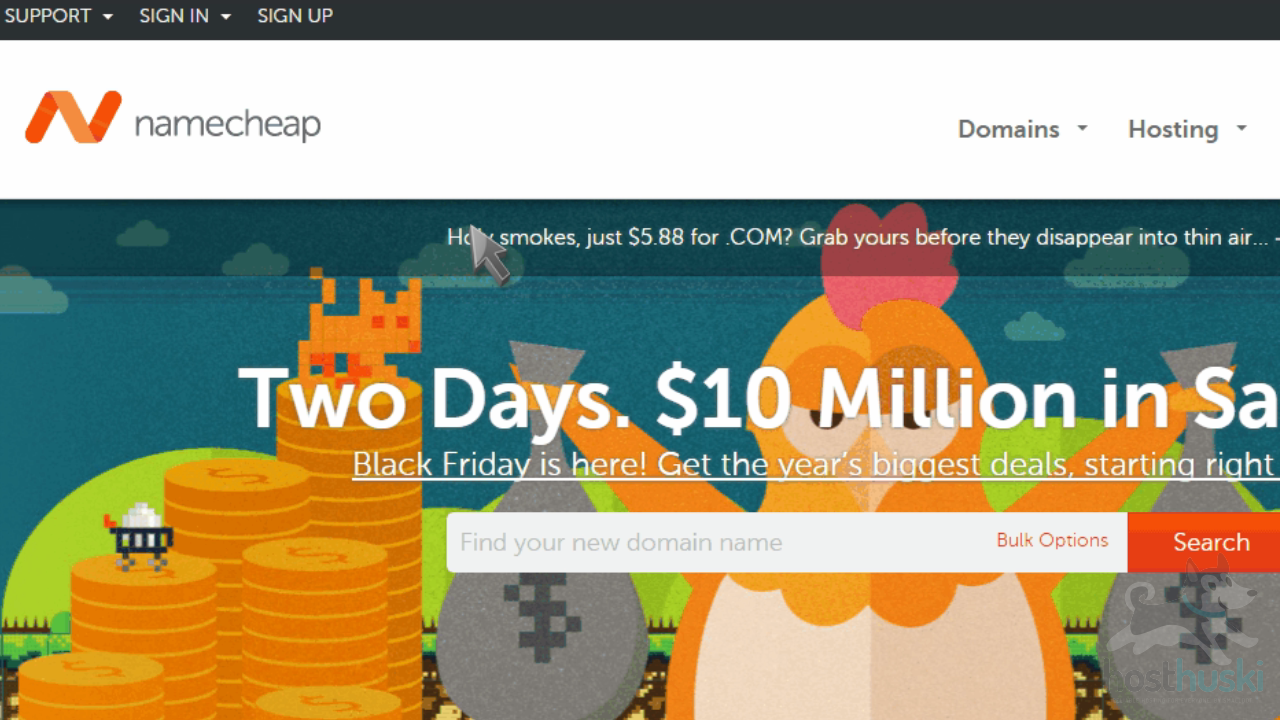
Click the “Sign In” link here and sign in to your account.

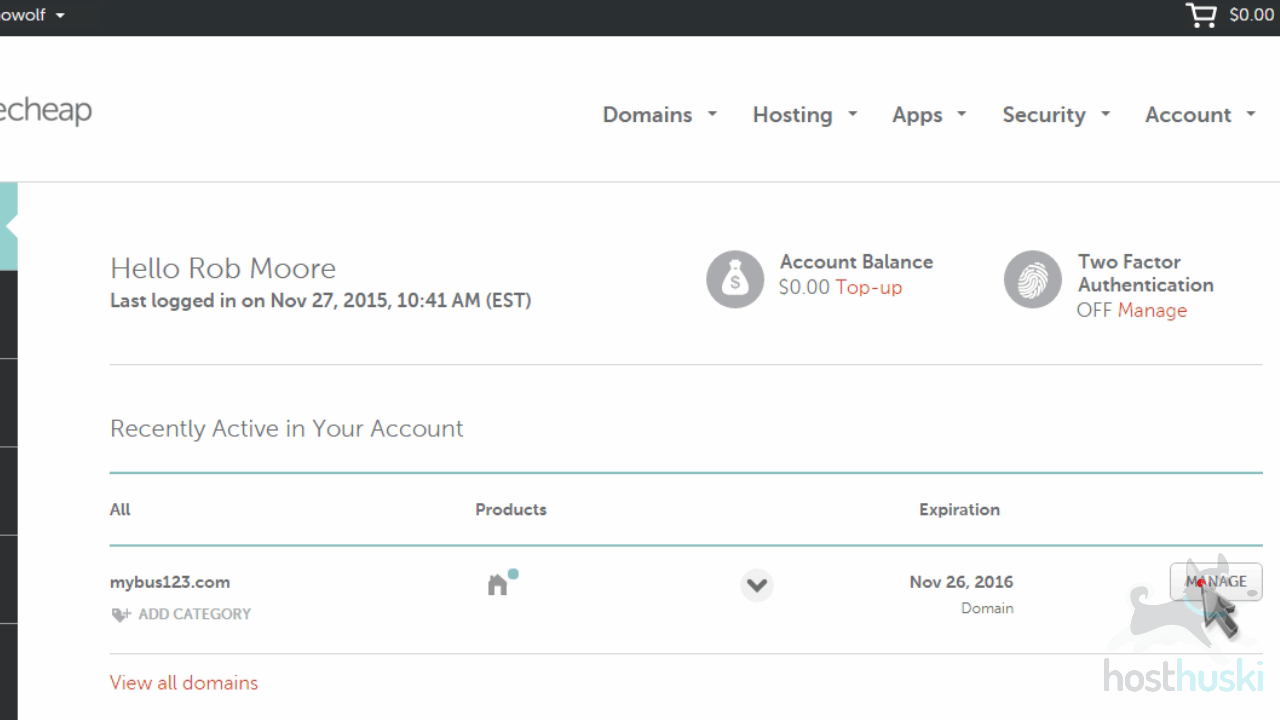
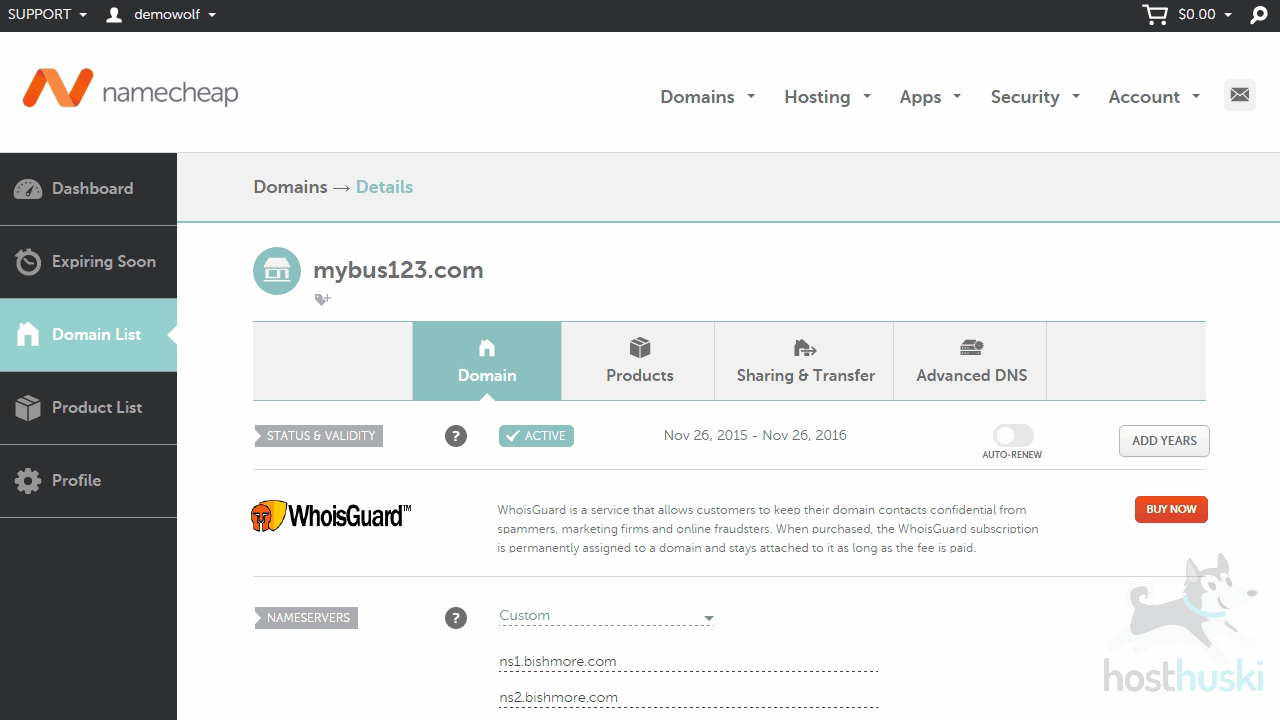
Once signed in, locate the domain you want to update, then click “Manage”.
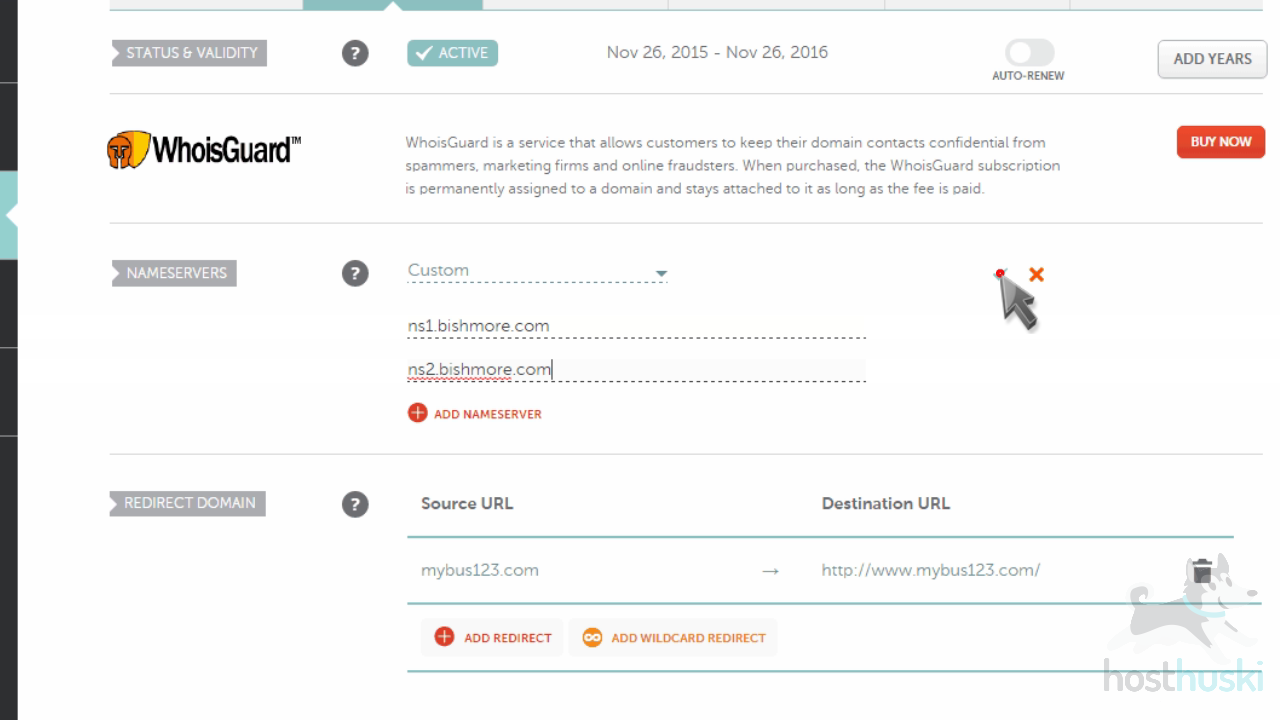
Scroll down to the Nameservers section, and select the “Custom” option.
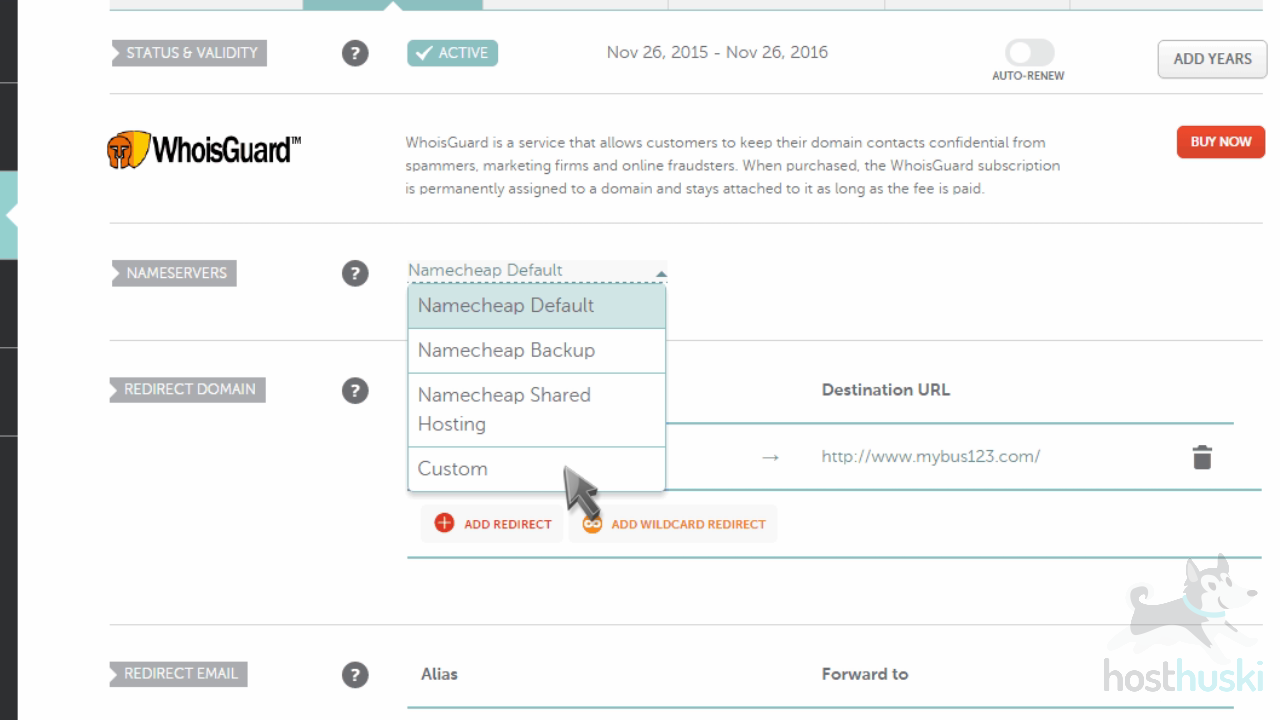
Enter your new nameservers, then click the checkmark to save them. The ones we are using are just an example and do not reflect valid nameservers for Host Huski.
That’s it! The domain name’s nameservers have been updated.
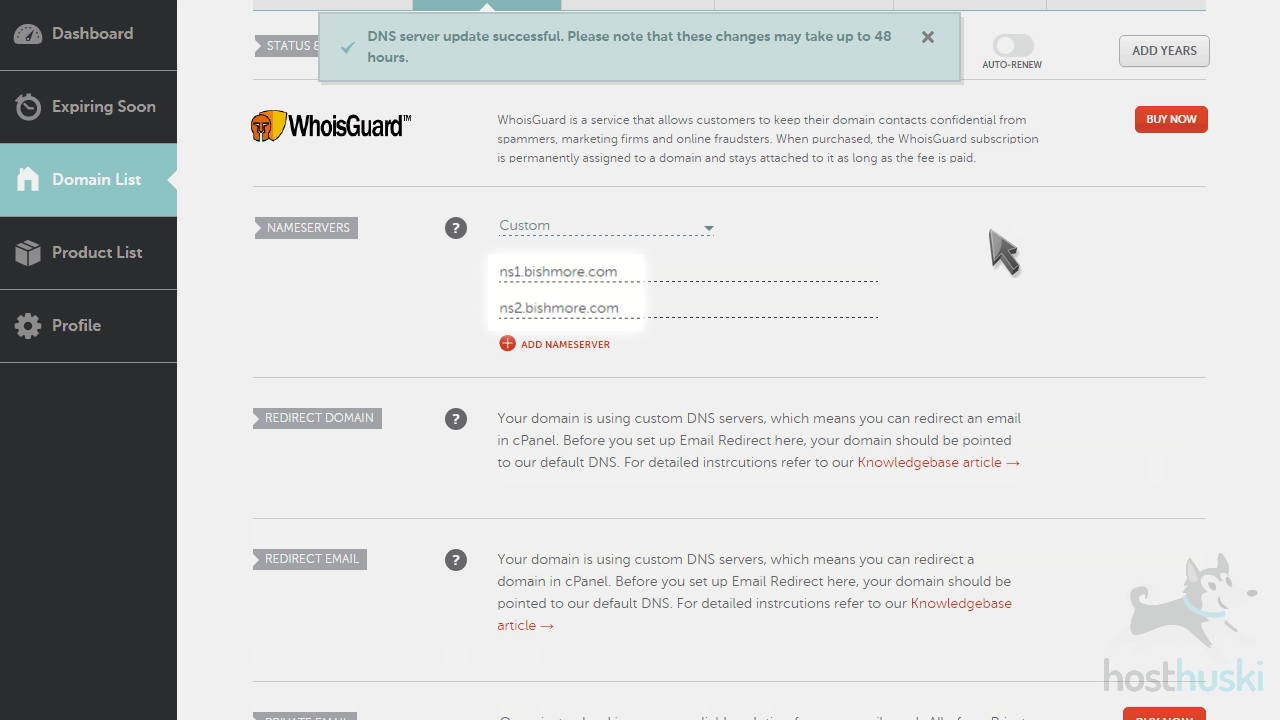
Please note that it could take up to 24 hours for your new nameservers to propagate and be recognized across the internet.
This is the end of the tutorial. You now know how to update your domain name’s nameserver settings at NameCheap.