How to update your GoDaddy Nameservers

This demo assumes you have a domain name registered through GoDaddy.com, and starts from the godaddy.com home page. What homepage design you see may look different than what you see below, but it’s ok. The steps are still the same.
screenshot of the GoDaddy homepage from the HostHuski help center

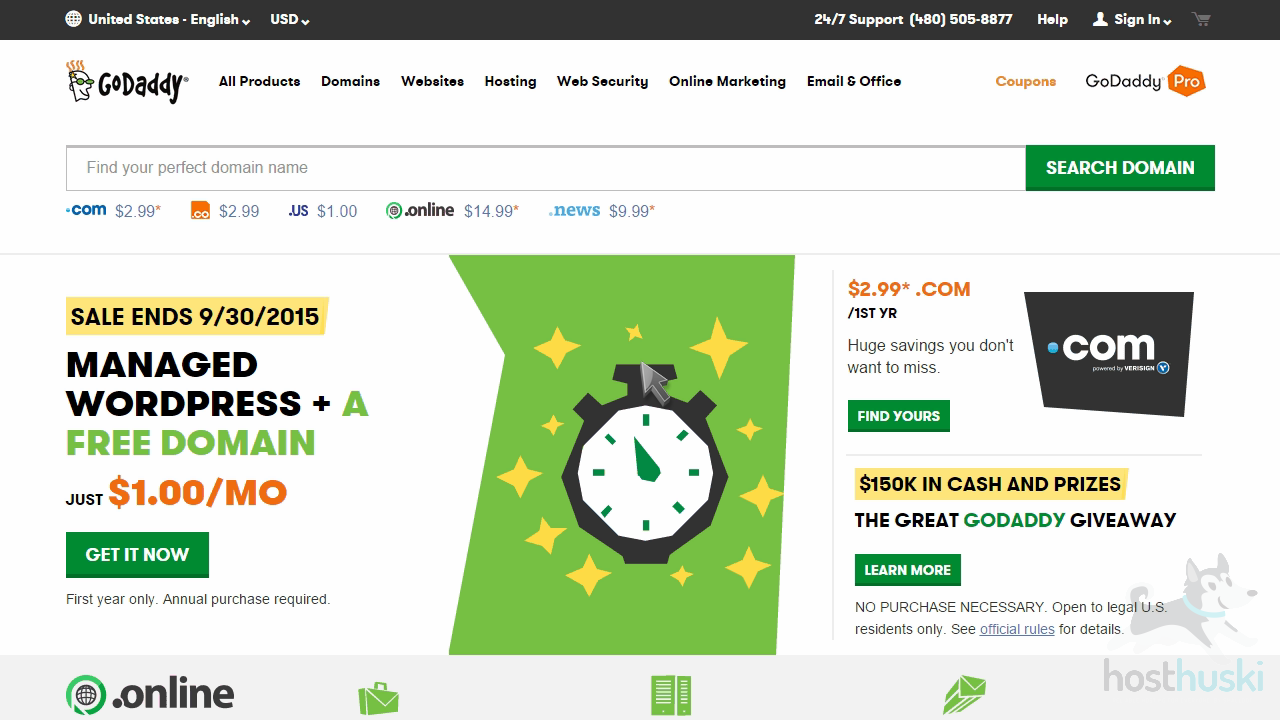
Now let’s learn how to update our domain name’s Nameserver settings

Click here and login to your GoDaddy.com account.
screenshot of the GoDaddy signin form from the HostHuski help center

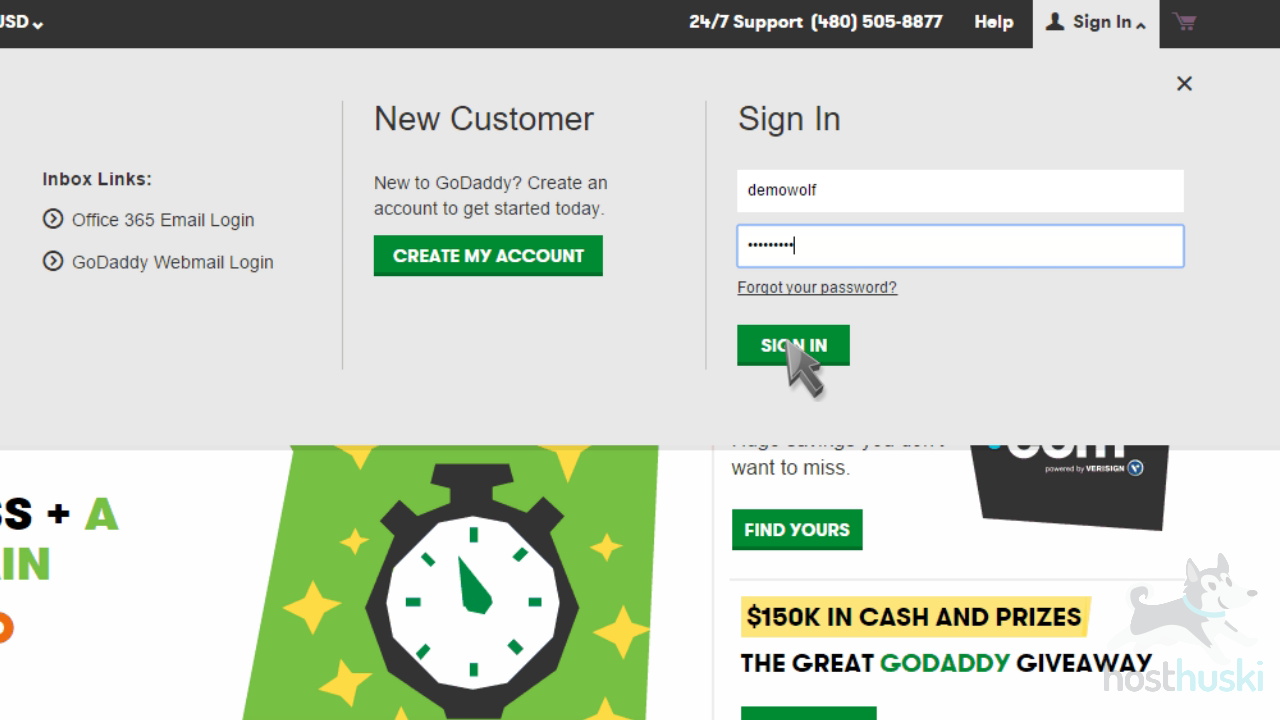
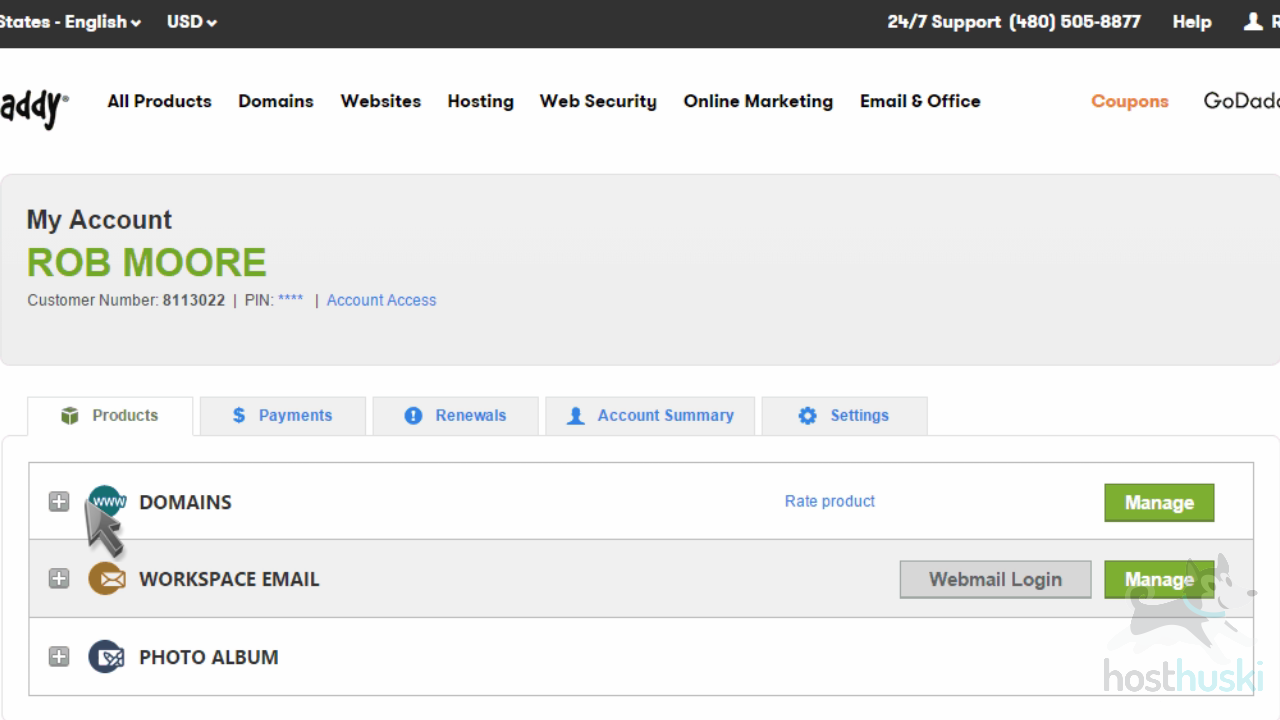
You are now logged in to your GoDaddy account.
screenshot of GoDaddy dashboard from the HostHuski help center

Click “Domains”.
screenshot of GoDaddy domains manager from the HostHuski help center

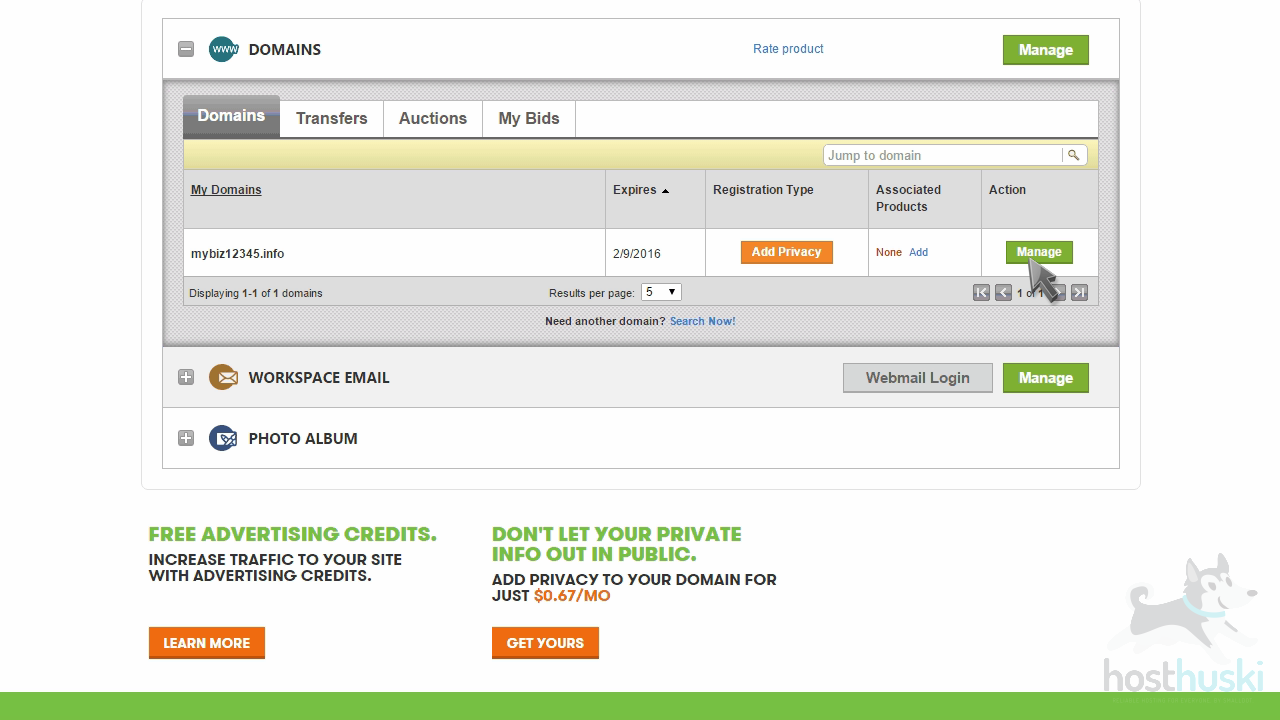
Then click the “Manage” button for the domain you wish to manage.
screenshot of GoDaddy domain management from the HostHuski help center

Here you can see the current nameserver settings for this domain name… and it’s these settings that we’re going to change.
screenshot of GoDaddy domain details from the HostHuski help center

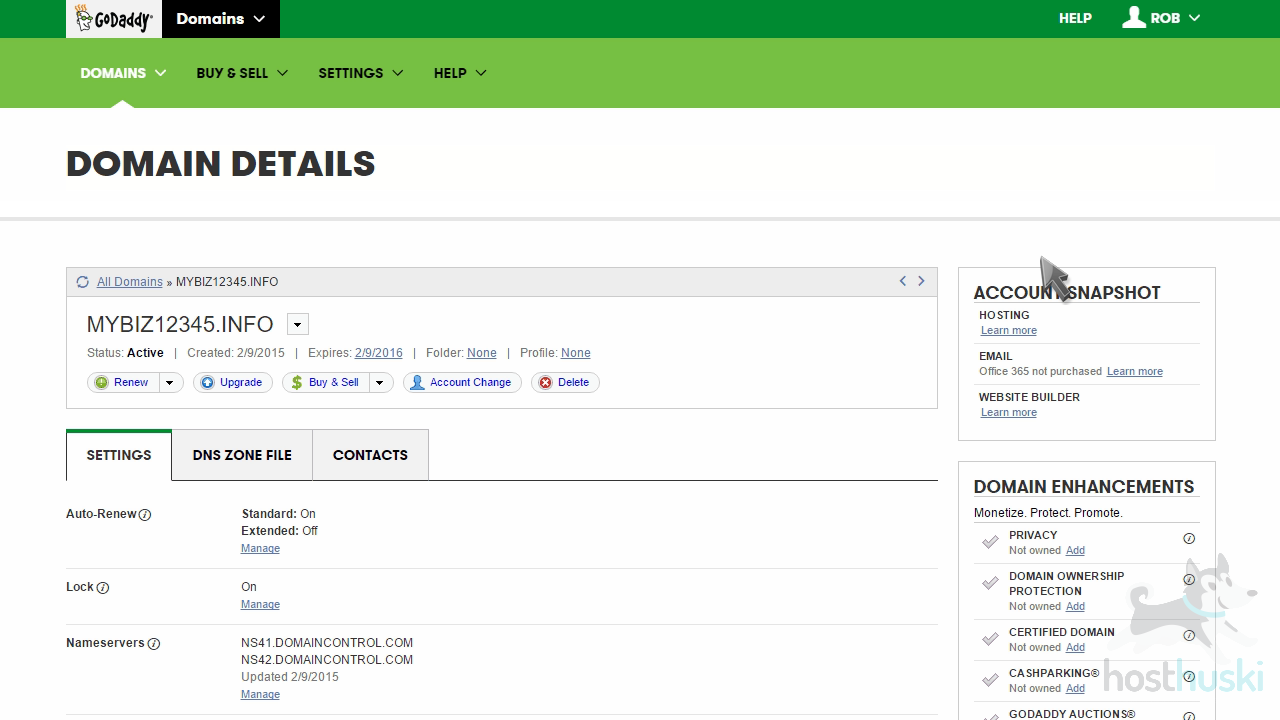
Click the “Manage” link.
screenshot of GoDaddy domain management details from the HostHuski help center

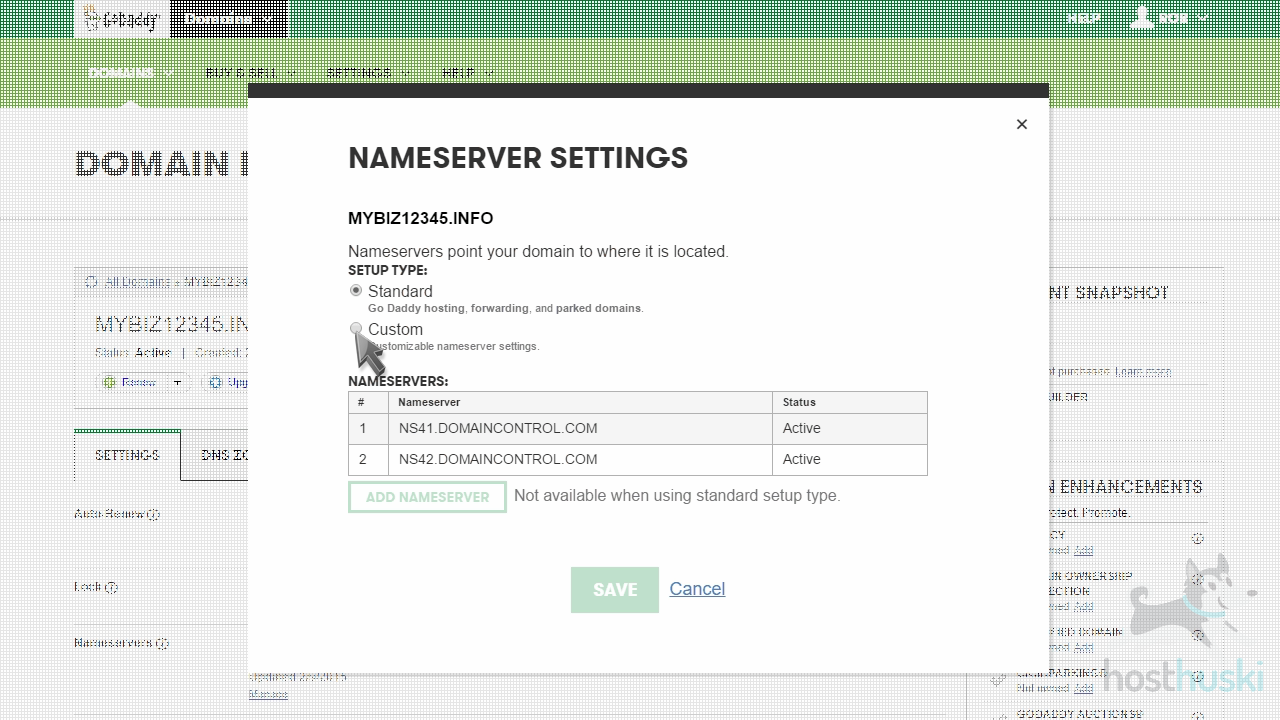
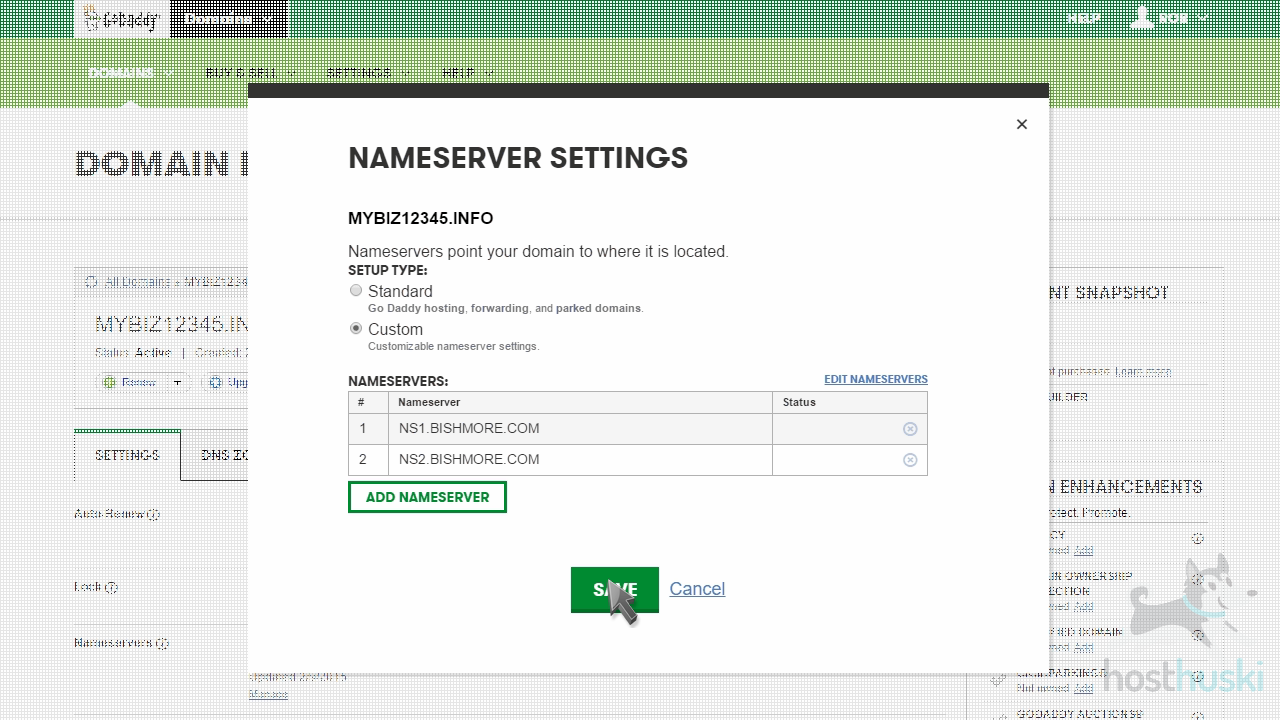
Then select the “Custom” option.
screenshot of GoDaddy domain nameserver settings from the HostHuski help center

Click “Enter custom nameservers”…
screenshot of GoDaddy custom nameserver settings from the HostHuski help center

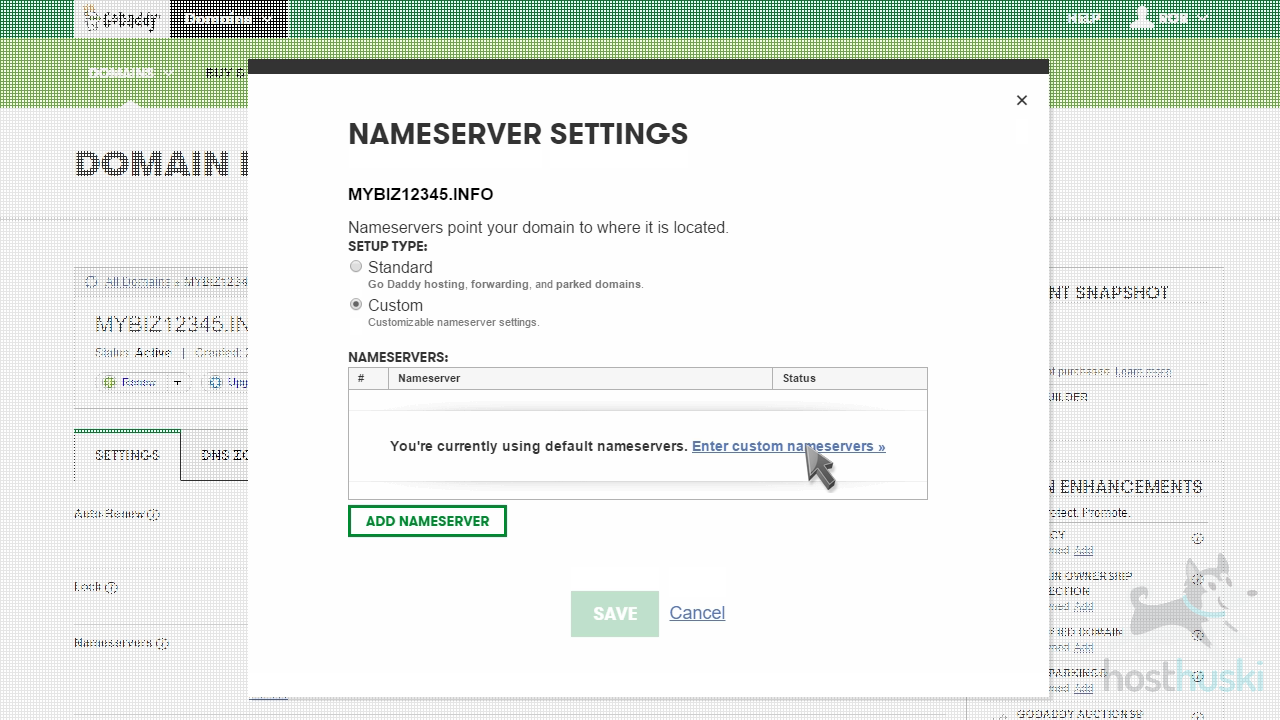
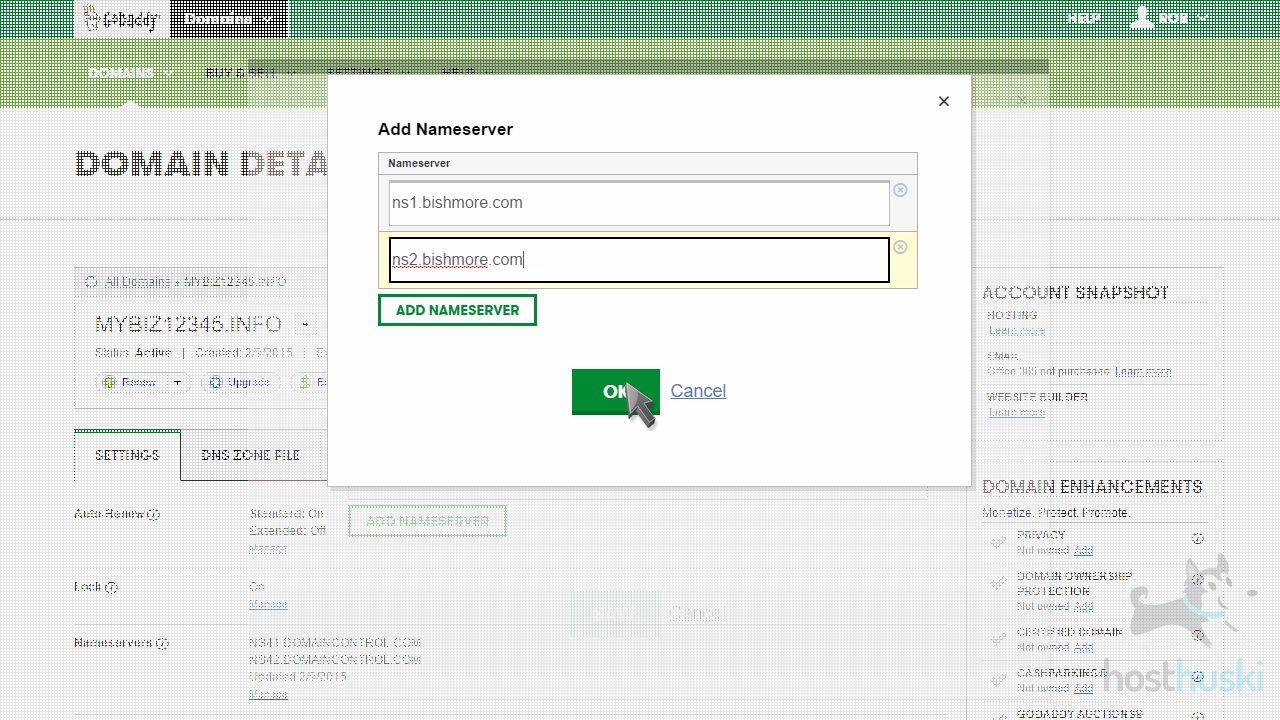
… then enter your new nameservers.

NOTE: The nameservers shown in these screenshots are for demonstration only and are NOT our nameservers.

HostHuski nameservers: (You will receive an email from us with the correct nameservers for your domain when you purchase your hosting plan). You input these as the nameservers when asked in ALL CAPS.

screenshot of GoDaddy add nameserver fields from the HostHuski help center

When finished, click “OK”.
screenshot of GoDaddy custom nameserver fields from the HostHuski help center

Then click “Save”.
screenshot of GoDaddy custom nameserver settings from the HostHuski help center

That’s it! The new Nameserver settings have been submitted.
screenshot of GoDaddy nameserver confirmation from the HostHuski help center

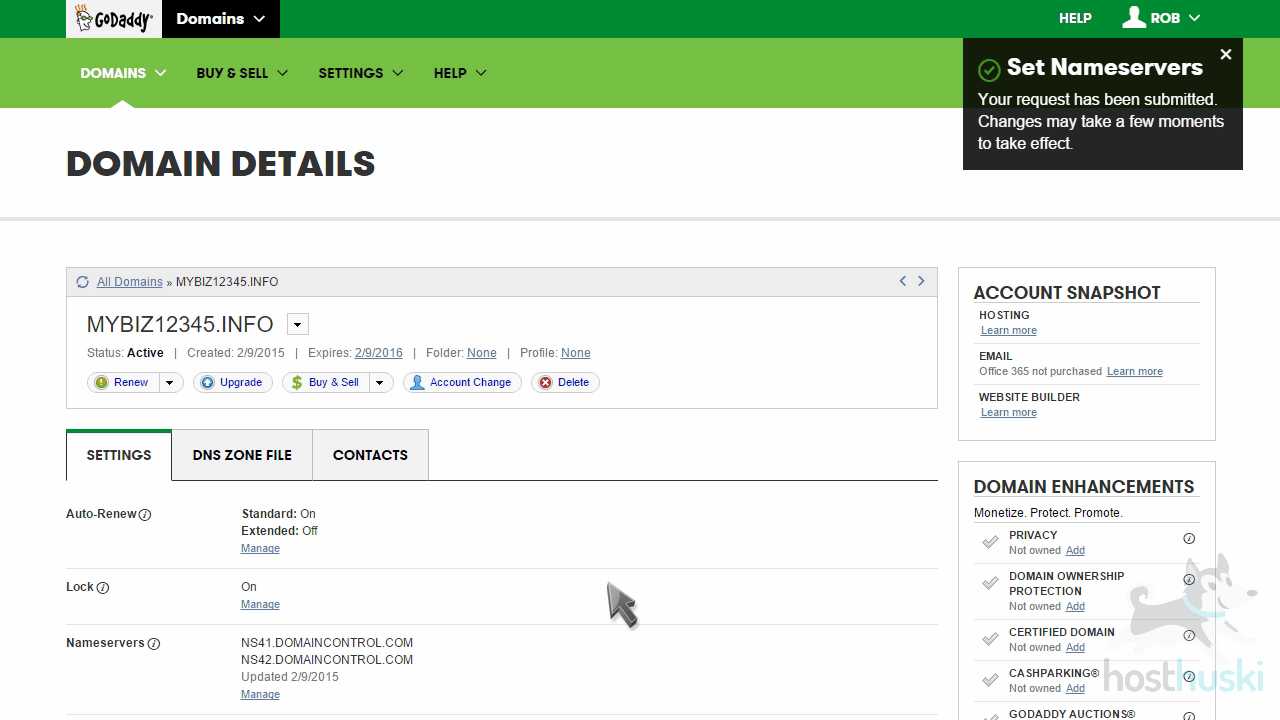
After a few moments, you’ll notice your new nameservers listed here.
screenshot of GoDaddy nameserver changes from the HostHuski help center

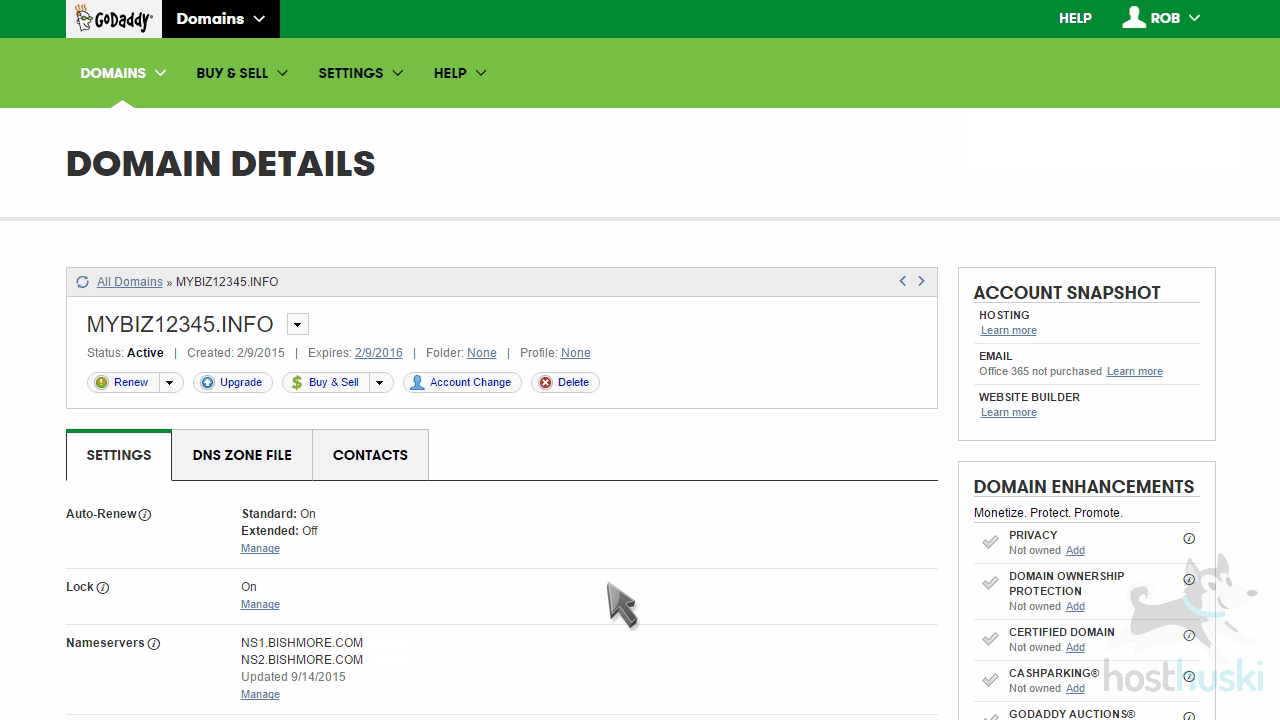
Please note that it could take up to 24 hours for your new nameservers to propagate and be recognized across the internet.

This is the end of the tutorial. You now know how to update our domain name’s nameserver settings at GoDaddy.com.