Huskimail gives you 20 different customizable templates for your email signature, or you can make your own. Email signatures are the cherry-on-top for your professional email. It makes you look more professional, and keeps your company’s branding consistent in every email. This article will explain how to setup and enable your email signature.
Step-by-step
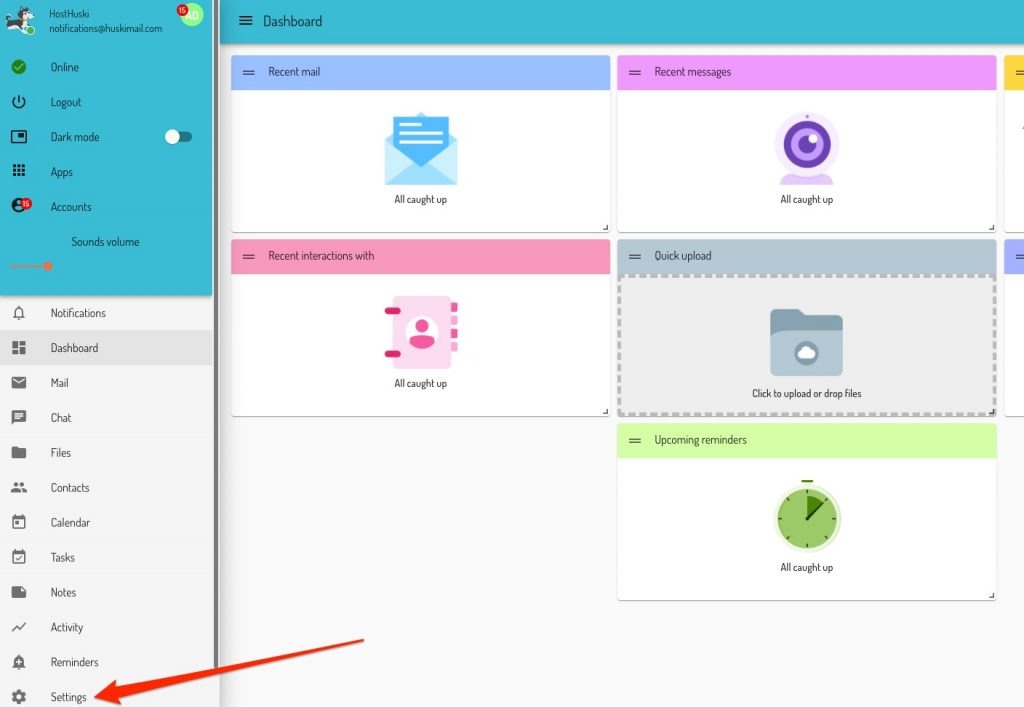
First, you’ll need to be logged in to your HuskiMail mailbox. Then, you’ll find the settings button on the left hand side of your screen.
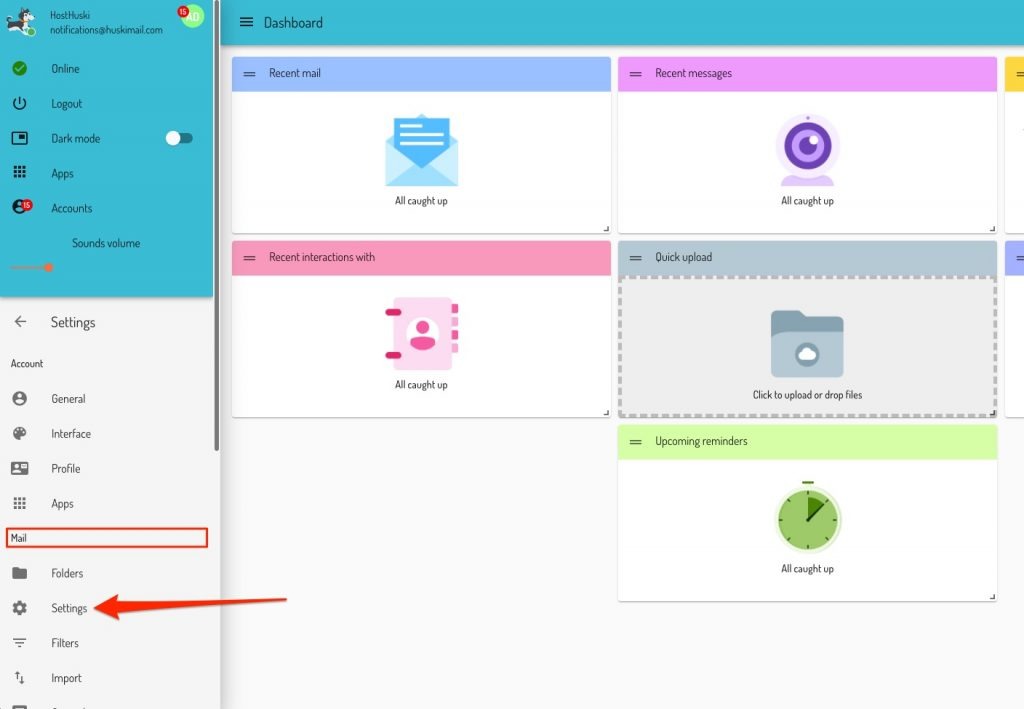
Then, after clicking Settings, you’ll click the Settings button under the Mail section.
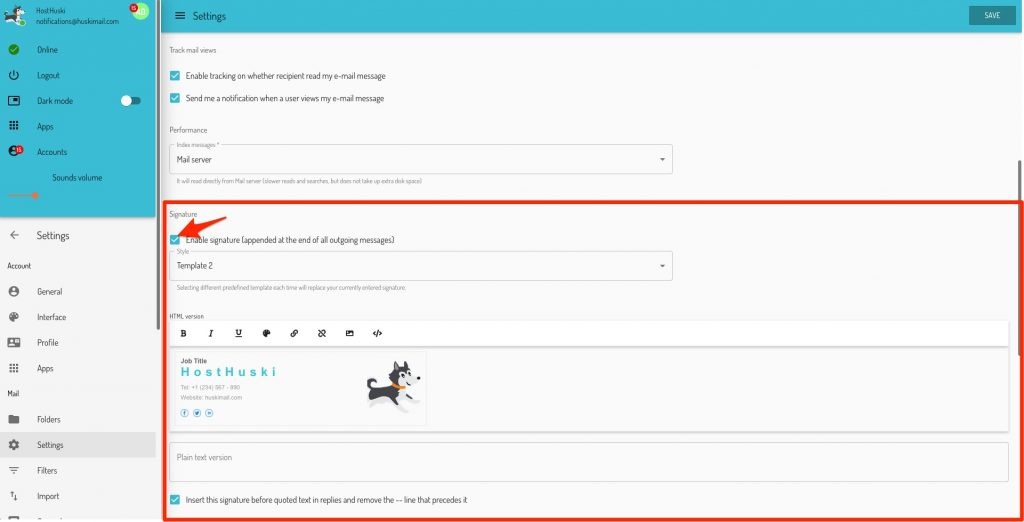
When you click the Settings button under the Mail section, you’ll be taken to the Mail Settings screen. If you scroll down you’ll see a settings section for Signature. You’ll notice the “Enable” checkbox is unchecked. If you select this checkbox, you’ll activate email signatures and will be ready to pick and customize your own template. The template will pull information from your profile.
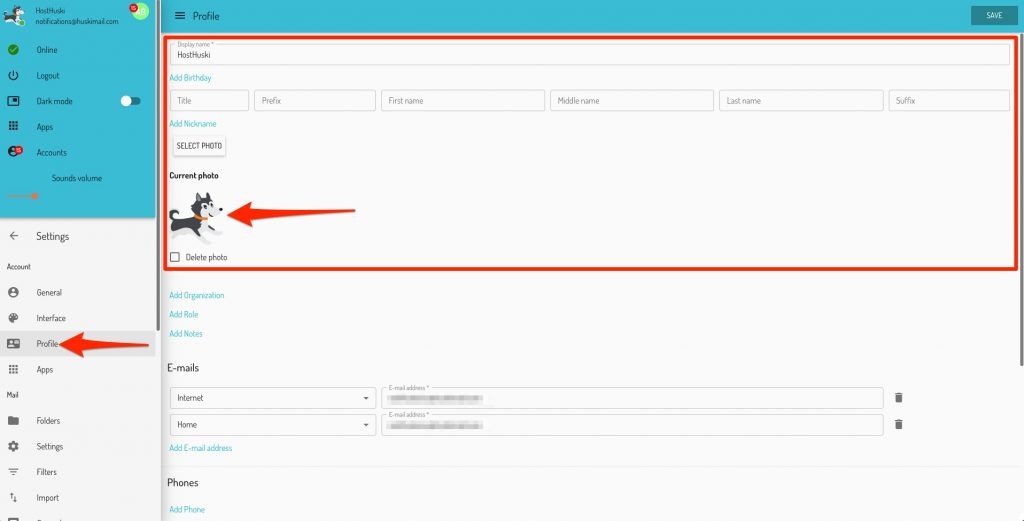
If you would like to modify the information the template uses, including the picture it uses, you can set this in the Profile Settings area.
That’s it! Now you know how to set up Email Signatures in HuskiMail.